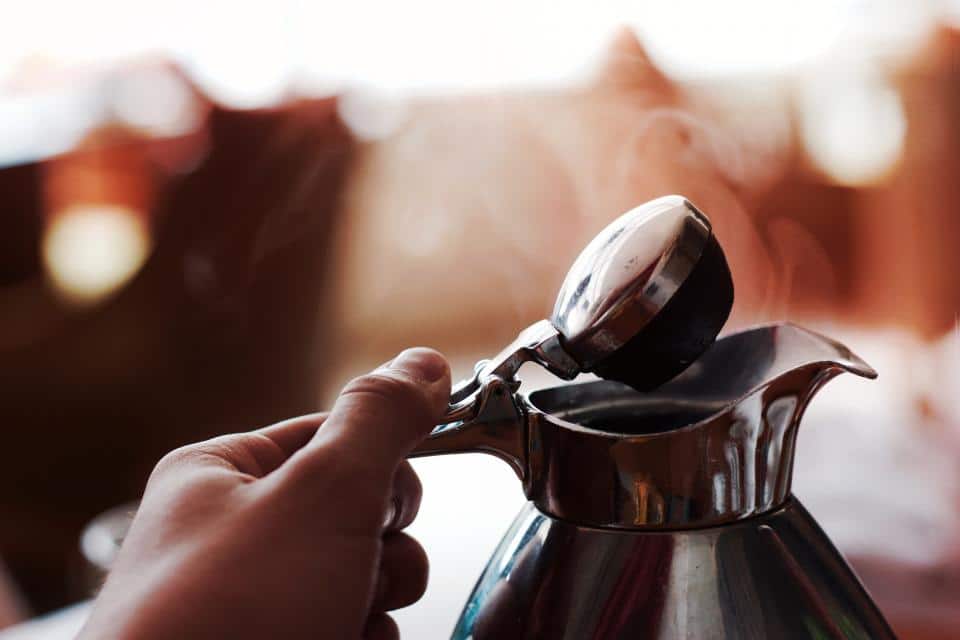
Many coffee enthusiasts today know only about modern coffee brewing techniques. Have you ever heard of coffee percolation, for example? This conventional approach takes patience and practice, but it yields delicious results every time. But – do you know how to use a percolator and how long it takes to perk coffee?
Table Of Contents
−- What’s a coffee percolator?
- The basics
- How does a coffee percolator work?
- Percolators vs. Moka pots?
- Percolator vs. other brewing methods
- How long are you supposed to perk coffee?
- How to percolate coffee: Step-by-step guide
- Instructions:
- How do you know when the coffee percolator is done?
- Helpful tips for using a percolator
- How to clean a percolator
- Conclusion
- FAQs About Using a Percolator
Preferably, you should perk coffee for about 5 to 8 minutes.
If you’re after a strong, bold, and really powerful coffee, you can go for a 10-minute perk time.
Going a second past this time will make your coffee taste burnt, bitter, or dry!
Now, let’s dig deeper into this somewhat demanding form of brewing. No matter what– we promise that by the end of this article, you’ll fall in love with percolator coffee!
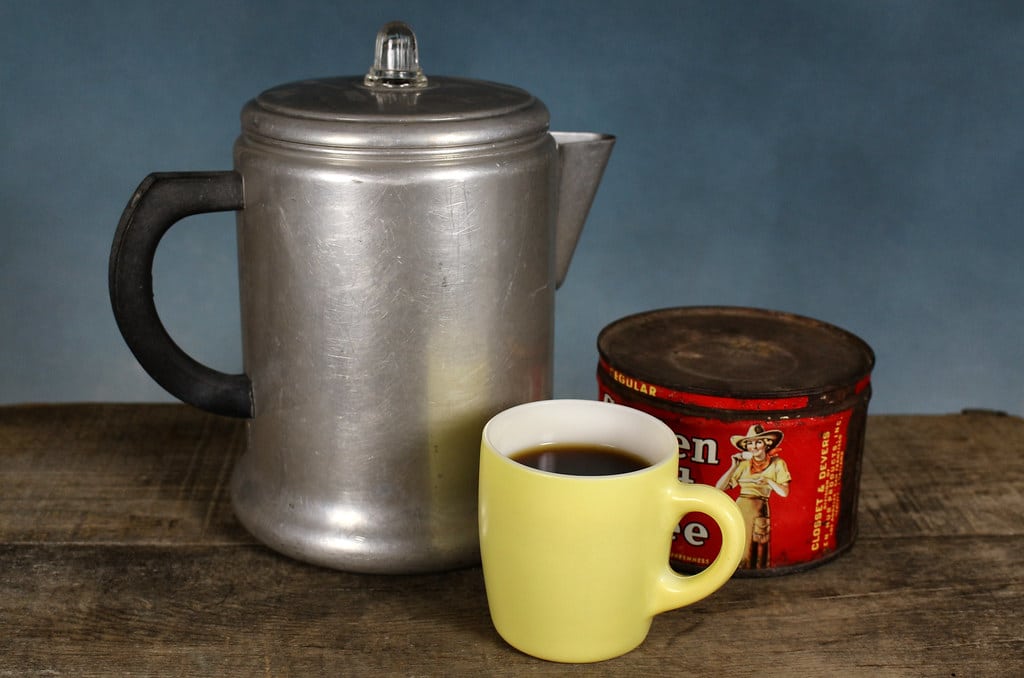
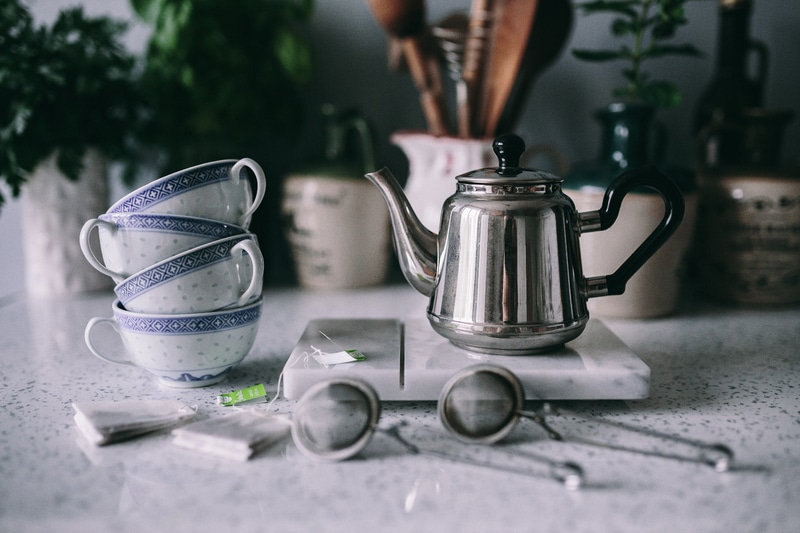
What’s a coffee percolator?
A coffee percolator is an innovative yet fast way to make coffee. If you have a percolator, you must make coffee with water, ground coffee beans, and a heat source.
The percolator has a lower chamber that you put in water, a metal tube, and a top element in your coffee grounds.
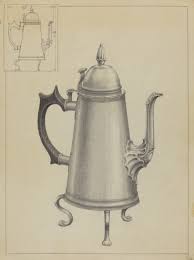
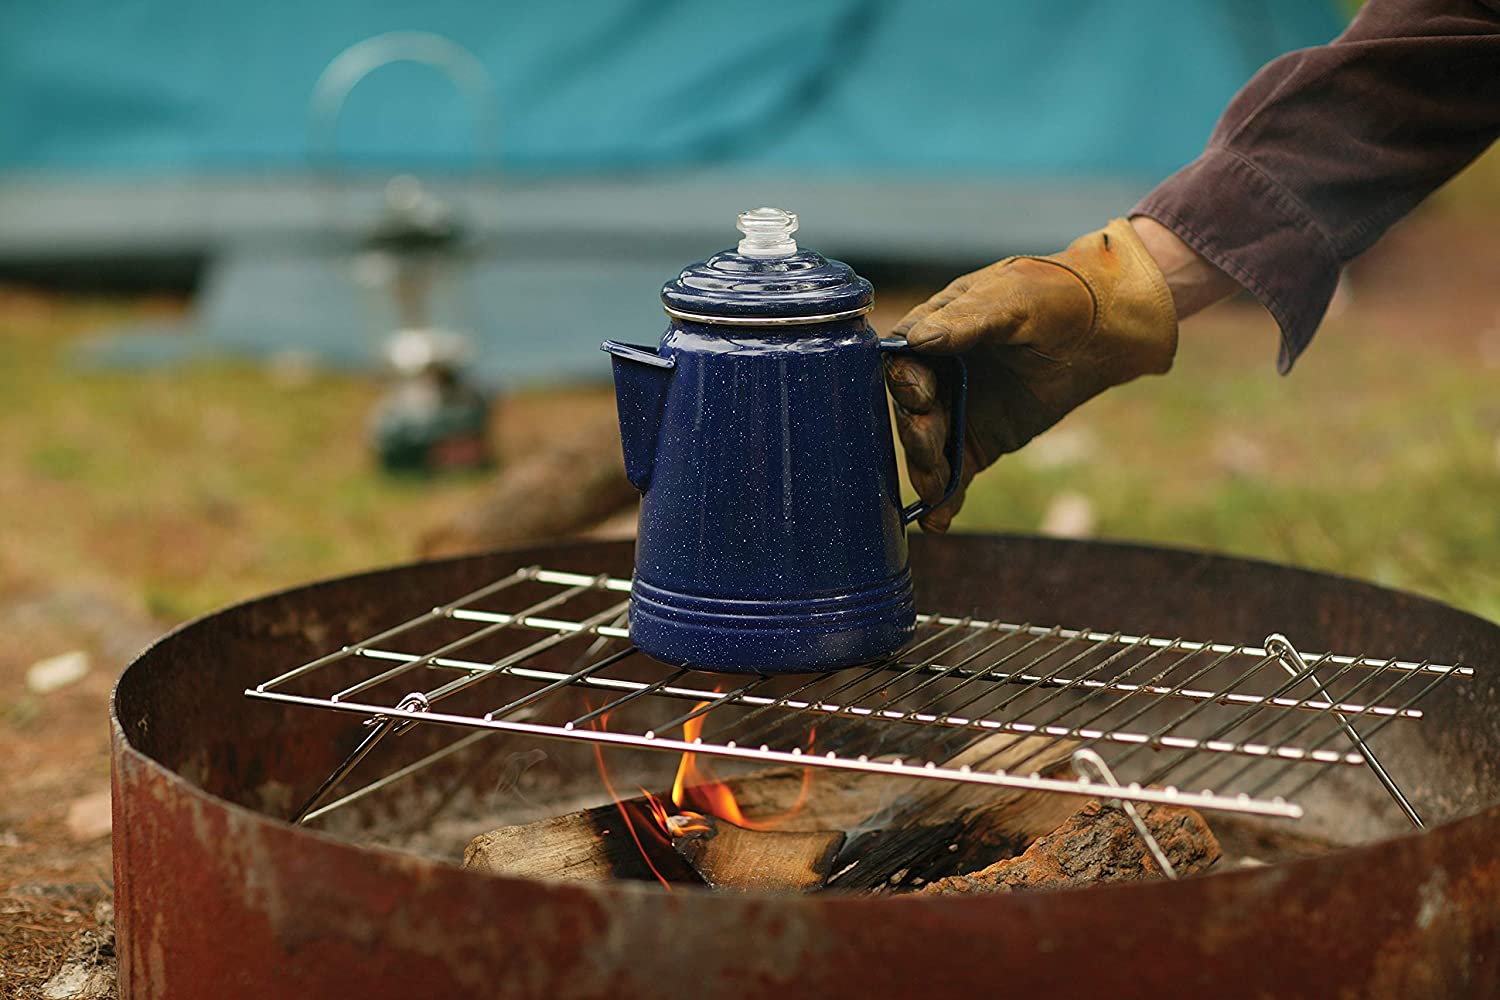
Stovetop percolation
For years, stovetop percolators have been used to make coffee. The trick to making good coffee from the stovetop percolator is to use continuous heat.
The water should almost be at a boil, but not at all. If you overheat it, the coffee will taste burnt and bitter.
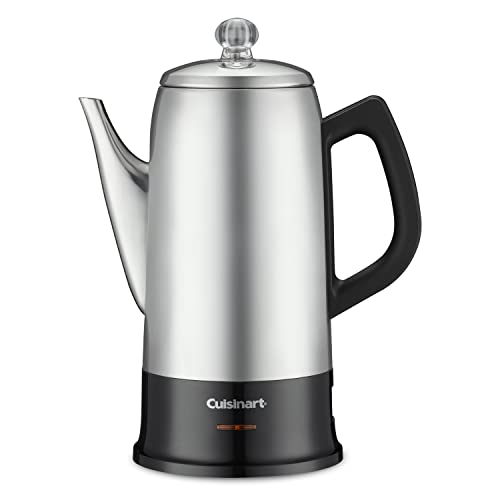
Electric percolation
Electric percolators do not require as much care as they do. This is because many processes, such as temperature, are automated through sensors.
They even have built-in hot plates. It would be best if you focused on having the right water-to coffee-ratio.
The basics
Back in the day, the stovetop and electric percolator were extremely popular. They were the preferred and most commonly used method of brewing coffee until the modern automatic coffee maker replaced them.
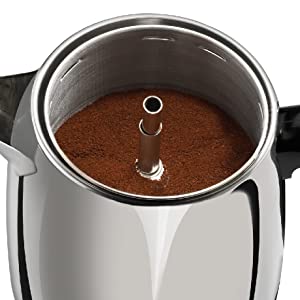
Parts
This unit comprises two main parts: the main pot that holds the water and the base that sits above the heat source. The filter basket is located on the tube of the unit and is a perforated chamber with a lid, all of which can be seen inside the pot.
These are the parts that hold the coffee grounds; the tube’s function is to transport water from the bottom of the main pot to the top.
Gravity vs. Pressure
There are two types of this unit: pressure and gravity percolators. The latter is the most common method of percolation used in stovetop and electric percolators.
Advantages of perked Coffee
There are a lot of advantages to using a percolator to make a cup of coffee. First, this is one of the simplest ways to make coffee while camping or on the road.
Once you know how to make a very good cup of coffee, it’s a metal pot that will last only if you take good care of it.
Disadvantages of percolator coffee
I think the biggest reason percolator coffee has fallen out of style is that it is more hands-on than other brewing processes among a chosen few.
Besides, no matter what coffee grounds you use, percolator coffee is always much bolder and more bitter than drip or French press coffee, which is typically a much more mellow brew.
Nevertheless, there’s certainly a time and place for this cup of coffee, and for a true coffee enthusiast, there’s no shortfall in the kind of brewing methods they use!
For instance, my cup of coffee is a lungo or an espresso, but that doesn’t mean I don’t enjoy the occasional AeroPress, French press, or cold brew!
How does a coffee percolator work?
Every coffee percolator comes with a wide-base pot, a small chamber at the pot’s base, and a perforated chamber.
A vertical tube connects the chamber to the top of the percolator.
And this is how the whole percolating process normally works:
- You pour the amount of water you want into the chamber (closest to the heat source)
- Add some coarse-ground coffee to the perforated chamber.
- Put the percolator on the heat source, and the water begins to heat up steadily and almost hits the boiling point.
- You’ll know that you’re going in the right direction when you see bubbles forming in the lower chamber.
- The bubbles begin to grow rapidly to the top of the vertical tube and swamp the lid of the coffee chamber.
- As the water rises, it covers the coffee grounds, passes over them, and returns to the chamber’s bottom.
- The water drops back down to the bottom of the chamber, combined with the fluid already there.
- This forces a small amount of water to rise again in the vertical tube.
Remember, you can let the temperature rise almost to a full boil, but lower it a little before it reaches that point! This way, you will keep the percolator from generating too much steam.
When you’re not in sight, steam will start burning your coffee grounds, which can change the taste of your cups. Also, don’t forget that brewing coffee in a percolator is a repetitive procedure!
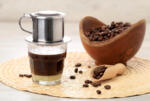
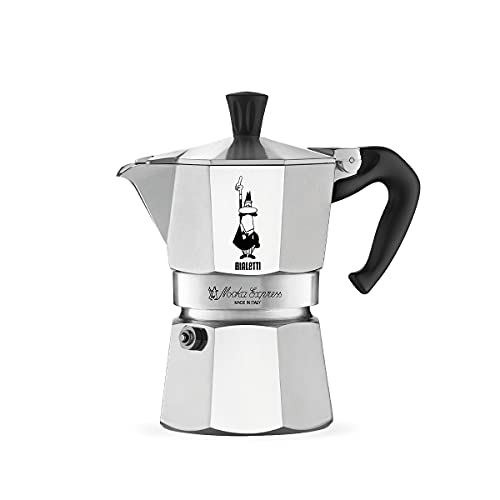
Percolators vs. Moka pots?
It is entirely a matter of personal preference. The Moka pot makes a thick, dark, concentrated coffee that tastes more like espresso.
On the other hand, the percolator produces coffee that is akin to regular drip or black coffee. As a result, the Moka pot is arguably easier to use.
However, the stovetop percolator can be temperamental, and you must be careful not to overheat or over brew your heat source, as this will result in bitter coffee.
The percolator’s reputation for producing bitter coffee is most likely due to people percolating coffee for an excessive amount of time. However, even if it’s your first time, you can make a good cup of coffee with short brew times and careful temperature control.
Percolator vs. other brewing methods
Is percolator coffee preferable to drip coffee? Coffee in a French press? Coffee with a pour-over? Because better is a subjective term, it is difficult for us to provide an absolute answer to this question. Instead, we can discuss the distinctions between percolator coffee and other brewing methods.
Drip or pour-over coffee is the method for you if you prefer lighter, more nuanced flavors. Percolator coffee is typically stronger and bolder.
It has a similar almost-bitter flavor to coffee made in a French press but has a deeper aroma due to the multiple brewings. Percolators, unlike French presses, can brew multiple cups at once, making them a better choice for making coffee for a large group.
How long are you supposed to perk coffee?
As a rule of thumb, you can never brew coffee in a percolator for more than 10 minutes! While this is a matter of your personal preference, we recommend that you brew your first percolated coffee for about 10 minutes.
Note that you should start your timer from when the water begins to bubble – not from when you pour the water into the chamber.
However, if it feels too strong, you can reduce your brewing duration for your next brews.
That being said, the time you take to percolate your coffee doesn’t count as much as how careful you are doing the whole thing. Typically, this brewing method is really handy, and you must always pay careful attention to it throughout the process.
When making your coffee, you need to carefully watch the percolator to ensure that the kettle does not produce any steam since that would mean boiling water and, most likely, a saturation of the coffee grounds. So, gradually raise the temperature and lower the heat until boiling begins.
How to percolate coffee: Step-by-step guide
You may do it on a stove or with an electric percolator. Brew your coffee for about 5 to 10 minutes below boiling point, and you’ll get an authentic and rich taste of percolated coffee.
Remember, however, that the process is much simpler with electric percolators!
All you need is the right ratio of coffee to water, ground coffee, and an electric percolator.
What you need:
- Sufficient quantity of water
- Percolator
- Coarse-ground coffee
- Mug
- Spoon
Instructions:
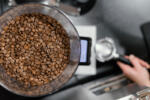
Step 1: Measure the coffee and water.
- If you want bitter and strong coffee, you should get 30 grams of coarse-grained coffee and 500 grams of water.
- Be vigilant when making coffee with a percolator stove.
- Try sticking to a medium grind, as too small or too big beans will ruin the delicious taste of your coffee.
- Bear in mind the amount of coffee and the volume of your percolator you will need.
- Halve the quantity if you don’t need more than 2 cups of coffee!
- If the water-to-coffee ratio tastes too bitter, and you want something milder and more drinkable, reduce the amount of coffee and increase the amount of water.
Step 2: Fill the percolator
- Add cold water and the preferred amount of ground coffee to the perforated chamber.
- You’d want to ensure that the water heats up steadily.
- Never pour boiling or warm water into the chamber – the heating process must be incremental, not immediate!
Step 3: Setup the percolator
- Attach the stem to the bottom chamber and fix it to the top of the stem.
- If you have a user manual, you can use it to learn how to set up your percolator correctly.
- But setting up a percolator is usually a no-brainer, and it should not take more than 30 seconds!
Step 4: Fill your perforated chamber with ground coffee.
- Pour the amount of coffee you’d like into your percolator’s top basket (perforated chamber).
- Don’t overfill it, as this can increase the risk of spillover.
- On the other hand, putting in too much ground coffee might make your coffee unnervingly bitter and too strong.
- Percolators usually make a good brew, but be vigilant about the water ratio to coffee.
Step 5: Brew the coffee
- There’s no guesswork with the electrical percolators. Hook it up to the power supply, turn it on, and the unit will automatically start and stop brewing.
- If you’re using a stovetop percolator, pay attention to the heat source and the pot.
- Adjust the burner to a low to medium heat level.
- Preferably, you’d want to heat the water slowly without allowing it to boil fully!
Most stovetop percolators feature a glass knob or transparent plastic on the top so you can track what’s going on there.
Once you see any bubbles through the bottle, the water is hot enough to start forming steam.
- Lower the heat level a bit to prevent bubbles from forming continuously. Ideally, bubbles are expected to appear every few seconds.
- If the bubbles don’t form consistently, that’s an indication that the water still isn’t hot enough.
- When the bubbles form a few seconds apart, and the steaming process starts, the color of the water changes from transparent to murky and coffee-colored.
That means you’re a few minutes (6 to 8) away from the perfect cup of percolated coffee.
Step 6: Set the timer
- Once the water changes color, set the timer to 6, 8, or 10 minutes.
- Set the timer to 10 minutes if you want an authentic taste of percolator coffee.
Step 7: Remove the percolator from the heat source.
- Switch off or remove the percolator from the heat source after 10 minutes.
- Don’t touch it with your bare hands, though!
- Use an oven mitt, a kitchen cloth, or a towel and put it on a kitchen pad.
Step 8: Take out the coffee grounds.
Coffee percolators can’t remove most coffee grounds from the coffee.
You will likely have more grounds in your cup than the standard filter coffee.
You should consider removing the used grounds by filtering the coffee through a mesh strainer if you don’t want any leftovers in your cup.
Pour in your freshly-brewed java percolator, and enjoy!
How do you know when the coffee percolator is done?
You’re done as soon as the water is fully brewed for coffee. You will be able to tell when the bubbling and sputtering subsides.
Takedown from the stove, but be careful. The handle can also get a little hot. Pour in a cup and enjoy.
Helpful tips for using a percolator
You must observe a few practical basics to make a tasty cup of freshly percolated coffee. These shall include;
1. Ensure proper consistency of grind
When looking for a tasty brew, ensure you grind the coffee beans to a medium-coarse consistency. Generally, the coarse grind consistency makes it difficult to extract aromatic oils from coffee beans for a specific duration, resulting in a cup of coffee that is less potent.
In addition, a finer grind consistency poses the risk that grinds will find their way into the brewed coffee and give it an unpleasant taste.
2. Use high-quality coffee beans.
Relative to other coffee-brewing methods, you have to use great quality coffee beans as they are ideal for making a tasty cup of coffee. Consequently, you should never use cheap and low-quality beans, as this will spoil your cup of coffee and waste your time and effort.
3. Correct water temperature
Water near the boiling temperature, usually between 198 and 204.8, is the best way to extract coffee using your percolator. However, excessively hot water can give rise to the burnt and bitter taste of your coffee brew.
Monitoring the temperature of the water is often the most difficult aspect of the brewing process.
You can solve this problem using an electrical percolator instead of a stovetop percolator. This cuts off the heat supply appropriately, ensuring that the brewing is gentler.
4. The appropriate ratio of water to coffee grounds
When preparing freshly percolated coffee, you must pay close attention to the amount of water inside the percolator relative to the amount of coffee in the basket.
Loading a small number of ground coffee results in a weak filter or washing away from the coffee grounds.
Similarly, if the coffee grounds are packed too tightly, the steam extraction of the coffee effect may not be efficient. Perfect water for coffee grounds ration has to be eight ounces for roughly one tablespoon of ground coffee.
5. The appropriate duration of coffee percolation
When making percolated coffee, you need to keep monitoring the entire process to avoid percolated coffee from over-circulating inside the percolator, as this gives rise to an unpleasant and bitter cup of coffee.
This is particularly important when using a stovetop percolator, which doesn’t include a feature of the set percolation period of steam through the coffee grounds, unlike an electric percolator. This ensures that a cup of coffee is always tasty.
How to clean a percolator
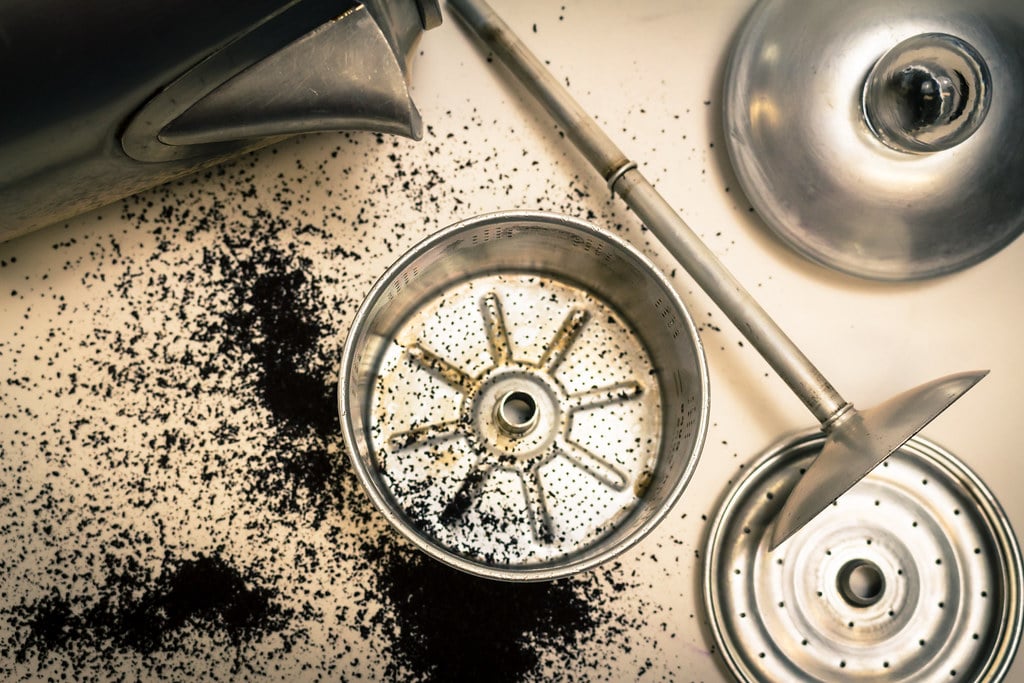
The best time to clean a percolator is immediately after brewing. If the coffee grounds are allowed to dry in the basket, they can form a dense cake.
Similarly, leaving brewed coffee in the chamber overnight can stain the walls and influence the flavor of the next brew.
What you need to clean
Clean the brewing basket, the water chamber, and the stem that connects the two
What you would need
Baking soda or vinegar with warm, soapy water, scrubbing lightly with a sponge as needed.
- Deep-clean your percolator with baking soda or vinegar to remove built-up stains and oil residue.
- Fill the water chamber as if making coffee. Instead of coffee grounds, add two tablespoons of either baking soda or vinegar (but not both).
- Before discarding the water, heat the mixture for 10 minutes.
- When cleaning with vinegar, you may need to add clean water and reheat the pot until the vinegar’s aroma is gone.
Conclusion
So now you know how long you have to perk coffee for – 5 to 8 mins is ideal, even though you can opt for a bold cup for as much as 10 mins!
And definitely, you can come across some rebuttal of making coffee in a percolator. But this handy brewing method can take you back to the days when brewing and sipping coffee was a creative expression in and of itself!
Now that you know how to prepare percolated coffee and how long to perk coffee, are you going to embark on this adventure?
What’s your encounter with the java percolator?
Do you favor it over drip and instant coffee?
We’d love to hear your views, so don’t hesitate to drop a comment in the section below!
FAQs About Using a Percolator
What is the best coffee for a percolator?
The coffee beans you use make a significant difference in percolator coffee. Because the coffee is rebrewed several times, dark roasts may be too strong.
Low-acidity coffee should be labeled as light-roast, smooth, or mild. It is also critical to coarsely grind the beans so they do not fall through the basket and end up in the finished coffee.
How much coffee do you put in a percolator?
After a few brews, you’ll know how much coffee you’ll need for percolator coffee. To make a strong brew, use one tablespoon of coarsely ground coffee per cup of water. Use a teaspoon per cup for a weaker brew.
How long do you let coffee percolate in a percolator?
Percolate coffee for 7 to 10 minutes, depending on the desired strength level. During this process, it is critical to maintaining even heat in the percolator (an area where electric coffee percolators shine).
Even if you brew the coffee for a short period, if the water becomes too hot and produces steam, the coffee will be over-extracted and taste extremely bitter.
Alternatively, if the water isn’t hot enough, it won’t be able to extract the most flavor from the grounds.
Do you use a filter when using a percolator?
No, paper filters are not required when using a percolator. The coffee grounds are held in a metal basket with holes in the bottom, which is why a coarse grind is essential.
As with French press coffee, this allows more coffee oils to enter the final cup.
Does percolated coffee have more caffeine?
The short answer is that it certainly can. One advantage (ha!) of percolating coffee is that you can control the brew strength and caffeine content by how long you percolate it.
Other factors that influence the caffeine content of your final brew include the type and roast level of the beans and the number of coffee grounds.
Disclaimer: This post contains affiliate links, which means I may receive a small commission, at no extra cost to you, if you make a purchase using these links. Remember to support us by purchasing through the Amazon/Walmart/Impact Radius links provided. Last update on 2024-04-19 / Affiliate links / Images from Amazon Product Advertising API
Disclosure: No compensation or free products were received in exchange for writing this review.

Editorial Staff
The editorial staff at Crazy Coffee Crave is a team of coffee enthusiasts & Baristas who enjoy the one thing we all think about as soon as we get up in the morning. Trusted by thousands of readers worldwide.