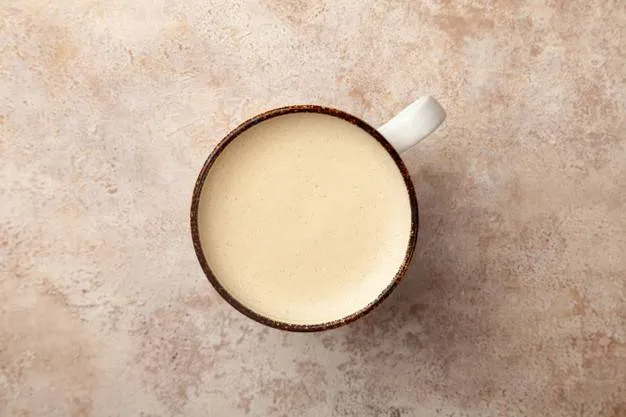
Do you enjoy lattes or cappuccinos? Do you want to make this foamy milk at home but lack a good milk frother?
Table Of Contents
−- Why do you froth milk?
- The science behind frothing milk
- Ways to froth milk without a frother at home
- What are the best milk for frothing
- The vegan option: best non-dairy milk
- Is there a difference between milk froth and steamed milk?
- How to make milk-based coffee drinks- steamed or froth
- 5 tips for making a good froth on your milk
- My final thoughts on frothing
What if I told you that you can still do it? Instantly! I’m sure you’ve got at least one tool in your kitchen cabinet to make a great milk froth.
It is easier to froth milk without a frother if the milk is ice cold!
Regardless of how long you shake it, room temperature will not produce foam, so don’t waste your time!
Why do you froth milk?
Do you ever feel like you’re missing out on café-like cappuccinos or lattes because you’re trying to save money or don’t have time to go out and get your favorite coffee?
Don’t worry. You can froth your milk and make quality café-caliber lattes at home for a fraction of the price. Furthermore, it is absolutely effortless. Therefore you can repeat the procedures as often as you want and brew all of your favorite coffee drinks anytime you want!
Those who enjoy trying new coffee drinks can expand their options by frothing milk at home. Whether it’s a macchiato or a cinnamon latte one wants to make at home, the ability to churn out frothed milk like an expert makes it seem possible.
Learn more about:
The science behind frothing milk
The right balance of proteins and fats in the milk determines how well it can be frothed. The freshness of the milk also makes a difference; if you want a good froth consistency, utilize it within five days. When milk is steamed, the air becomes trapped within the milk molecules, raising the temperature. The proteins in milk work as stabilizers, ensuring that the trapped air remains in the froth.
The amount of fat in the milk also influences the amount of frothing that can occur — high amounts of fat can discourage frothing because the proteins in the milk cannot hold the bubbles.
To produce quality froth, the milk must be heated to the proper temperature. The finest results come from milk that has been warmed to 60-68°C (141-155°F). Under-steamed milk would not froth well, while scorched milk may not produce as much foam or taste as well.
Ways to froth milk without a frother at home
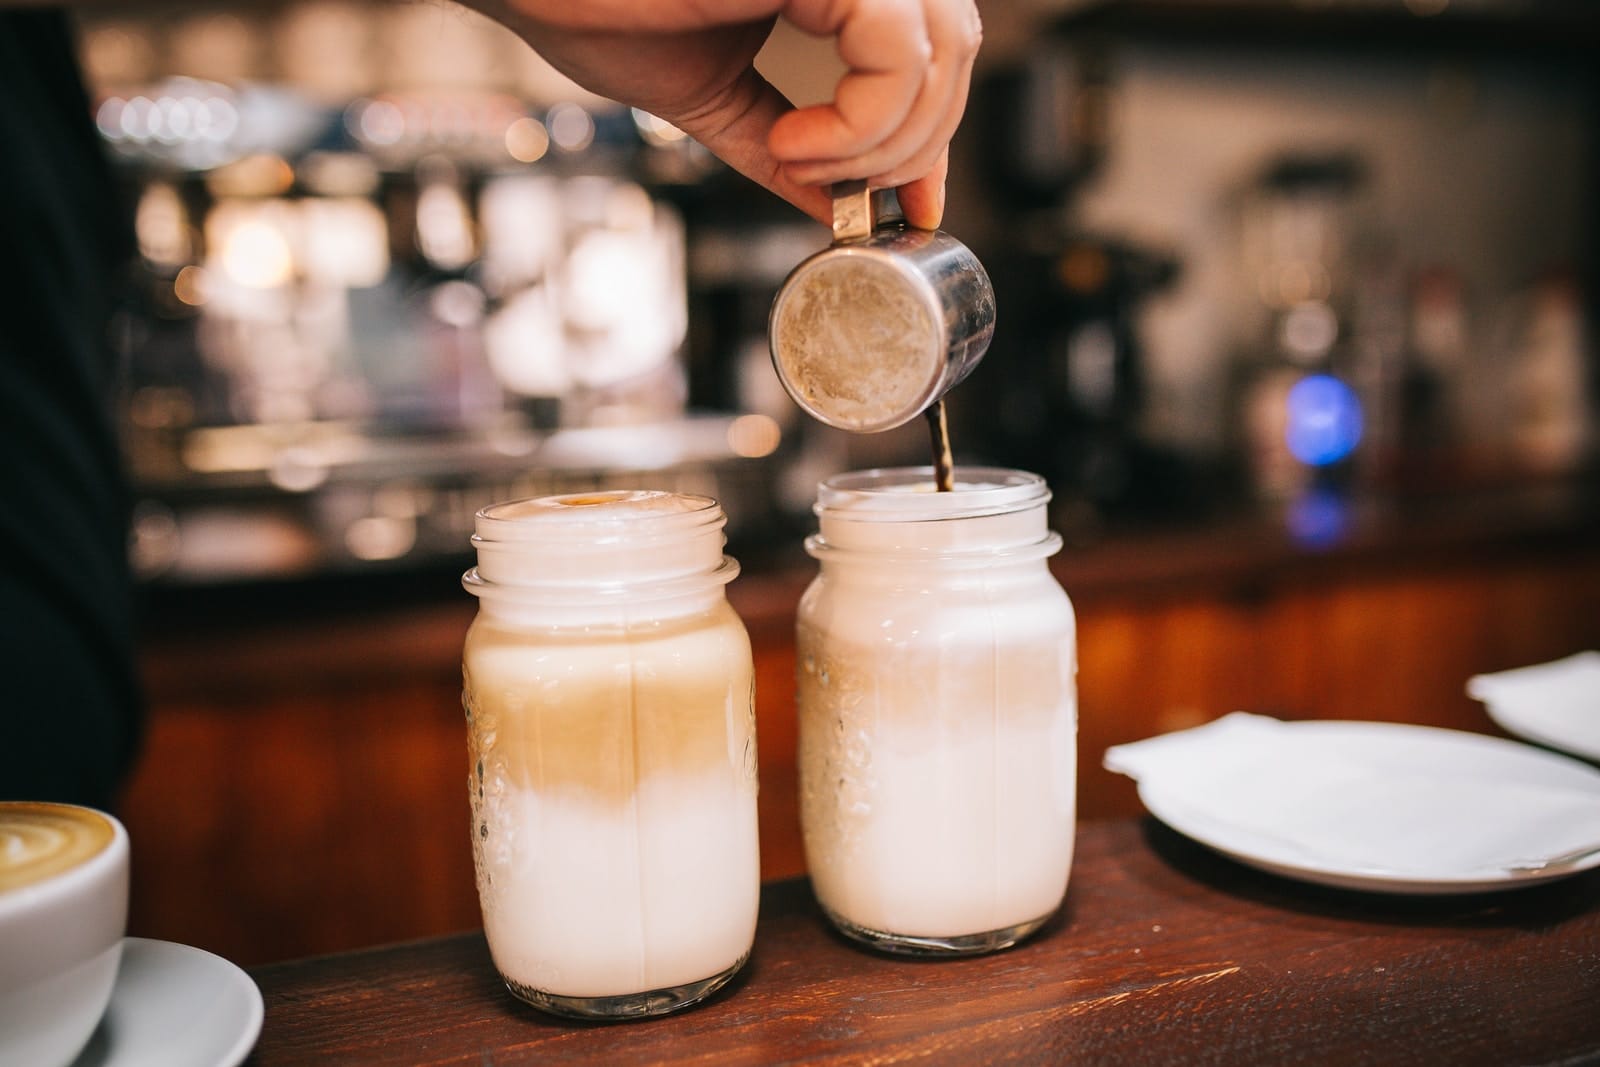
1. Shaking in a jar
The first technique is quite straightforward. Place your hot milk in a jar, tightly screw on the lid, and shake vigorously! Please keep in mind that if your milk is particularly warm, you might want to grasp the jar with a dishtowel to avoid burning your fingers.
This technique produces froth with huge bubbles. It’s not ideal for trying latte art, but it’ll suffice in a pinch.
Pros
- Decent frothing is almost straightforward to achieve.
- Easiest assembly achievable
- Cheapest frothing method
Cons:
- May not yield microfoam-quality, a medium-sized froth that is suited for lattes only
- Must be cleaned after use.
2. Hand whisking

Heat your milk and vigorously whisk it by hand. A back-and-forth motion is way easier than a circular one.
This method produces somewhat higher-quality foam than the jar technique.
Pros
- Produces higher-quality foam
- Requires no extra equipment other than a hand-whisk and a large container.
Cons
- Takes a lot of effort and focused whisking motions over a long period.
- It can make a lot of mess.
- Does not produce perfect foam quality.
3. Blender

Fill a blender halfway with warm milk and blend on medium speed till it becomes frothy. Cover your blender lid with a dish towel if you don’t want hot milk flying around your kitchen!
The froth produced by this method is really good: the bubbles are small and consistent.
Pros:
- It produces speedy results and smooth, uniform foam.
- It nearly doubles the volume of milk.
- It is a good choice for foamy coffee beverages that require two or more ingredients to be effectively blended.
Cons:
- It can be messy; it is safer to use a large blender jar.
- There is a risk of hot milk splashing all over the place.
4. Frothing wand
Warm-up some milk. Turn on your frothing wand and immerse it in the milk. Using a whisk, create a lovely swirl of milk until it is frothed to your desire.
This creates a lovely foam, and you can employ your wand for other things as well, such as whipping small quantities of cream for chocolate, whisking small quantities of liquid ingredients, and so on. It’s also incredibly small so that it won’t take up much room in your cupboards.
5. French Press
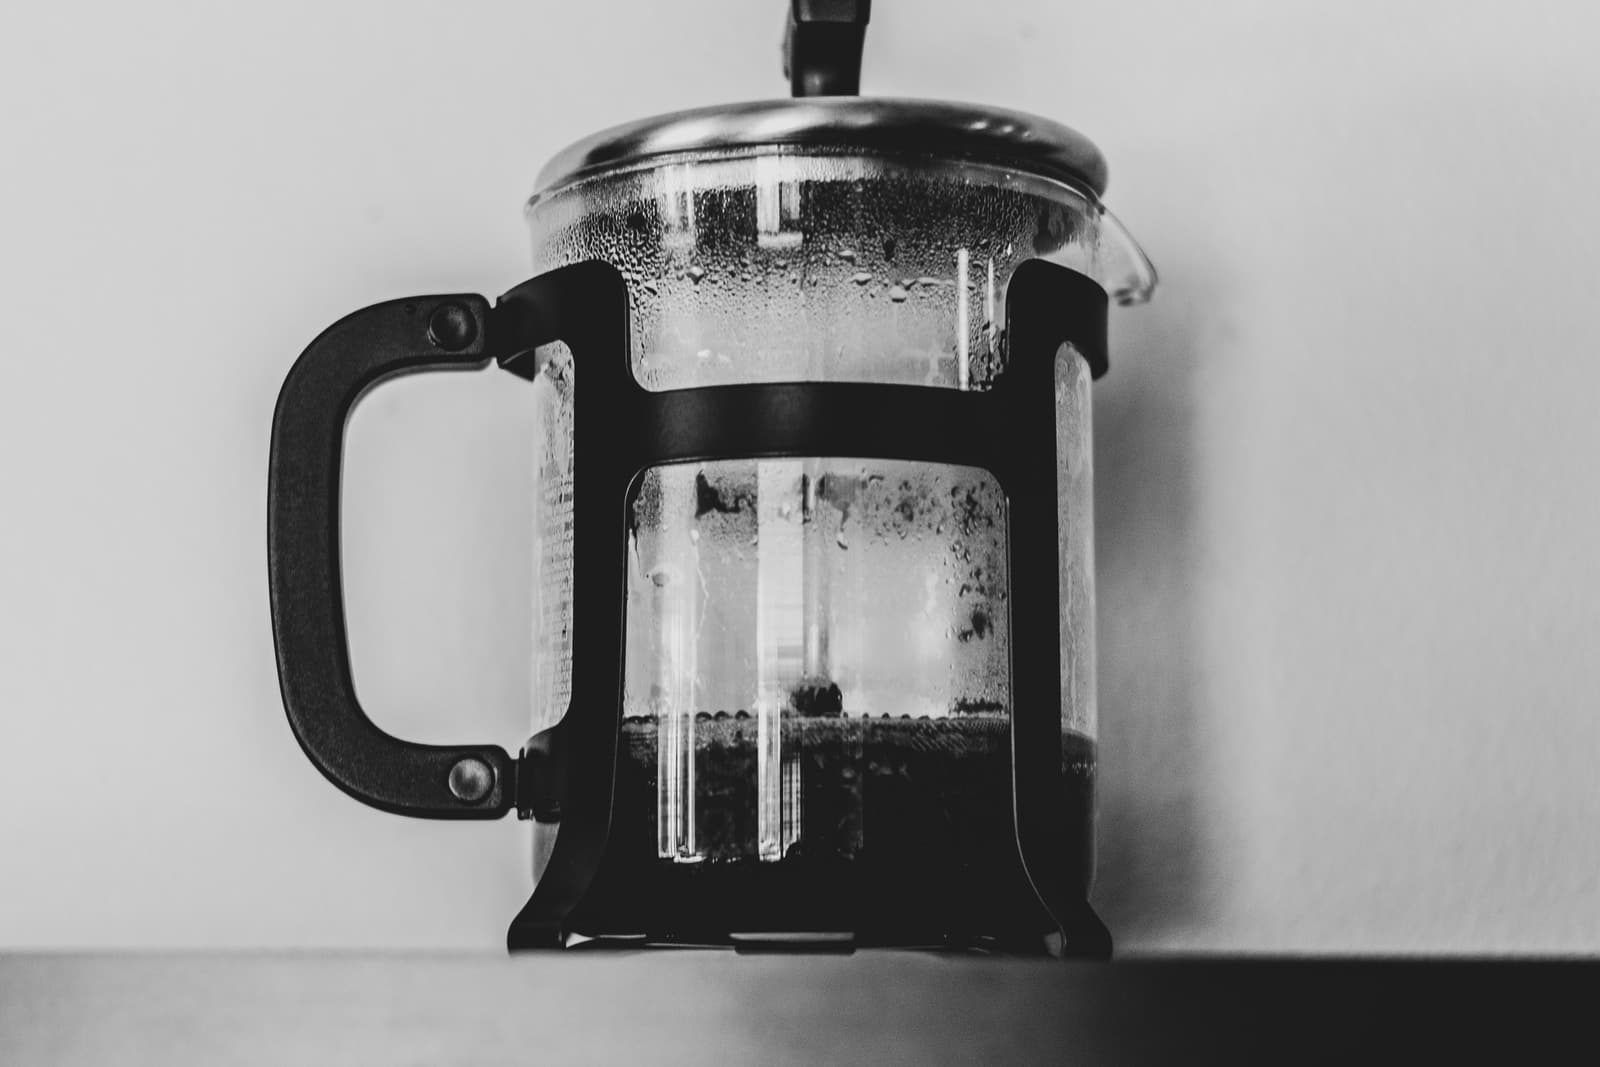
If you are the fortunate owner of one and have only brewed coffee with it, you should try frothing milk!
It’s incredibly easy to do and yields delicious creamy, frothy milk foam.
Pour ice cold milk into the French Press and press the plunger about 20-30 times, or till the milk has doubled in size. You must be extra cautious not to push too hard. Otherwise, the milk froth will become too stiff.
What we want is a real cappuccino. This means that you should be able to pour the milk into a cup of coffee without using a spoon.
The next procedure is to microwave it and be delighted at the quality of the milk foam. You could scoop it from the press and forget about the coffee.
If you’re making both coffee and milk froth inside the French Press, I recommend starting with the coffee because it takes around 4-6 minutes to brew.
Pros:
- Excellent froth quality.
- Low cost if you already own a French press espresso machine.
- Practically effortless.
- Frothing may be achieved in under a minute.
Cons
- Significant cleanup effort is required after.
6 Blender bottles
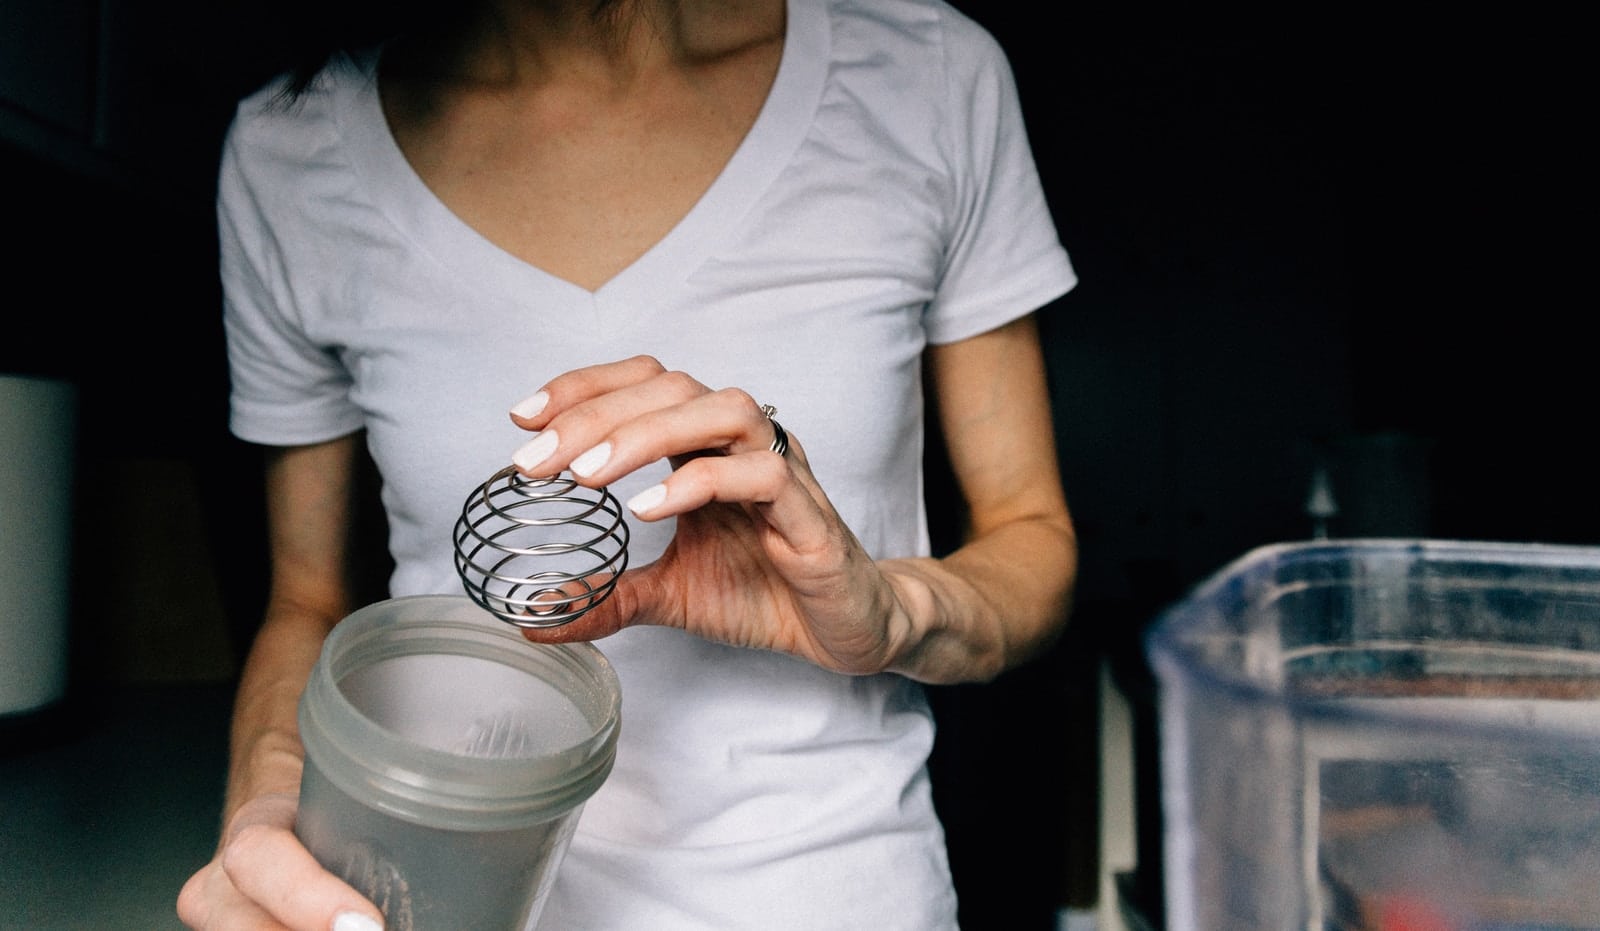
If you’re working out, chances are, you might have a blender bottle somewhere in your kitchen. It comes with a spring-like ball, so when you shake your protein shake powder with water, you can remove all the chunky pieces. This is a mason jar, whisk, and a blender all in one, and it happens to froth your milk nicely.
Pour hot milk into your bottle and shake. The bottle is secured since it’s actually made for you to shake the bottle
Pros:
- Quality of the froth
- Low cost if you already own a blender bottle.
- Practically effortless, since you already go to the gym
- Frothing may be achieved in under a few minute.
- Less messy than a mason jar.
Cons
- Make sure you use BPA-free blender bottle
- Depending on the bottle, it can taste like plastic.
[amazon bestseller=”blender bottle” items=”3″ template=”table”]
What are the best milk for frothing
It makes no difference what type of milk you use to make the perfect milk froth. It is all about how you cook it.
If you try one of the ways listed above, I recommend using low-fat or skimmed milk because it makes it easier to succeed.
Whole milk contains more fat, which is heavier and, as a result, pulls down the bubbles.
As a reminder, I recommend using ice-cold milk straight from the refrigerator and heating it after you’ve frothed it.
Read our article
The vegan option: best non-dairy milk
Even if you have lactose intolerance or dislike dairy milk, you can still enjoy a great latte or cappuccino.
The following are four dairy-free options and their respective milk foam findings.
Soymilk froth
- ~2% saturated fats
- Great results
- Best froth results
Almond milk froth
- No saturated fats
- Good results
- Creates stiff froth
Check out our article on the best almond milks you can buy.
Coconut milk froth
- ~2% saturated fats
- Very good results
- Fluffy froth
Rice milk froth
- No saturated fats
- Good results
- Creates stiff froth – no microbubbles
Is there a difference between milk froth and steamed milk?
Infusing air into milk till it becomes stiff or creamy produces froth.
On the other hand, steaming is merely heating the milk. Normally, a milk frother is used. In this circumstance, getting some extra foam is unavoidable.
The difference may seem insignificant to us, but you can only call your drink latte or cappuccino if you use the proper type of milk – frothed or steamed.
Take a look at the list below. It should help you figure out what kind of milk to use and how much to use for the most common coffee drinks.
How to make milk-based coffee drinks- steamed or froth
Cafe Latte
- bonnet of milk foam
- 6-10 oz steamed milk
- 2 oz espresso
Cappuccino
- 2 oz espresso
- 2 oz milk froth
- 2 oz steamed milk
Macchiato
- bonnet of milk froth
- 1 oz espresso
Flat White
- 4 oz steamed milk
- 2 oz espresso
5 tips for making a good froth on your milk
We understand that you want a beautifully silky micro-bubbling frothing variant for your lattes. Here’s how to obtain the same result every time you try frothing:
Low-fat content
The fat content is essential for optimum foaming. A high-fat level can inhibit bubble formation, while the low-fat content is the easiest to froth and produces the biggest foam bubbles. For the best results, use non-fat, low-fat, or skimmed milk.
Pasteurization
Organic or lactose-free milk is super pasteurized, which breaks down the proteins in the milk and makes the froth unstable. While some of these milk alternatives can still produce light froth, they are not appropriate for coffee drinks that demand thick froth and should be saved for lattes.
Storage
Light can degrade milk or, at the very least, influence its frothing capacity; Pouring the milk into an opaque container and evading storage in translucent containers can provide a longer shelf life and, hence, better frothing. Avoid leaving leftover milk out on the counter, and place any leftover milk in the fridge as fast as possible.
Other factors, apart from the freshness of the milk, determine the frothing tendency of the milk. Other factors that make a difference include the origin (type of cow/nuts or some other vegan source), cow feed, milk storage method, pasteurization specifics, etc.
Optimal temperature
Various milk types have different burning temperatures, which must be considered when frothing them. Always start with cold milk from the fridge and move ahead to steam it for the finest results. Soy milk and most other vegan milk alternatives have a lower burning temperature, which means they will steam more easily. When warming milk for frothing, don’t ever leave it unchecked on the stovetop; otherwise, the milk will burn.
My final thoughts on frothing
Frothing milk at home allows you to create a wide range of delectable coffee drinks.
The French Press comes out on top, since it takes less force, followed closely by the hand whisk. Both produce a smooth and creamy milk froth that is studded with tiny microbubbles.
Following my tests, the Blender Bottle comes in third place, trailing the coffee press and whisk but ahead of the milk jug.
The milk foam is creamy and smooth but not as flawless as it would be with a french press or whisk.
Finally, there’s the milk jug, which may be used for more than just adding ordinary milk to your coffee. However, don’t expect that the milk foam would be very creamy. The bubbles are larger, and the froth is stiffer and dryer.
Disclaimer: This post contains affiliate links, which means I may receive a small commission, at no extra cost to you, if you make a purchase using these links. Remember to support us by purchasing through the Amazon/Walmart/Impact Radius links provided. Last update on 2024-04-25 / Affiliate links / Images from Amazon Product Advertising API
Disclosure: No compensation or free products were received in exchange for writing this review.

Editorial Staff
The editorial staff at Crazy Coffee Crave is a team of coffee enthusiasts & Baristas who enjoy the one thing we all think about as soon as we get up in the morning. Trusted by thousands of readers worldwide.