Ninja coffee bars may be new to your ears, but we tell you, its popularity is rising quite rapidly. With any maintenance, proper maintenance plays a huge role so you can keep it for longer. Whether you already own one or you’re still planning to get one, read on to learn how to properly clean a Ninja coffee brewer.
Before we proceed, let me just debunk this old myth that says coffee makers kill bacteria because they don’t. They never reach the boiling point, thus, it does not have the capability to eradicate nasty microorganisms.
Now that we got that out there, let’s now learn how to properly maintain our Ninja coffee brewer.
Ninja Coffee Bar
This is a complete brewing system that has the capability to brew various sizes of filter coffee. From a 4-oz cup to a full carafe, whatever you need, you’ll have it! It also comes with a convenient built-in milk frother for some velvety coffee. You can also choose between models of this coffee brewer because it can come in thermal or glass carafes. With this, you can have a delicious pour-over coffee without breaking a sweat.
How to use it?

To use the Ninja coffee bar, just pour in water and ground coffee and that’s it! The brew basket houses a mesh filter where your ground coffee will go. After which, the carafe will collect your beloved cup. Beside the machine is the water reservoir where brew water is placed. It takes about 3 minutes for preheating before you can start brewing. Once ready, choose the cup size and brew strength and wait until your coffee is ready.
Two cleaning methods
Knowing when to clean this machine is easy. Once the “CLEAN” button lights up, it’s time to do work. In this article, we will give you not just one, but two ways to clean your Ninja coffee maker. Both methods work equally great so just simply choose the one that works best for you.
Method #1
You will need:
- Lemon juice
- White vinegar (1-2 bottles)
- Water
- Soap
- Paper filter
- Soft brush
- Cloth
- An empty cup
There are numerous fancy cleaning solutions in the market, but our old yet trusty white vinegar can do that job too!
Before starting your cleaning session, prepare a 1:1 vinegar to water solution. If you have no vinegar, lemon juice is a great alternative too!
If you have slacked on cleaning your machine for a while, you can opt to add a little more vinegar. Then, follow these steps:
- Take all the coffee grounds out from the machine.
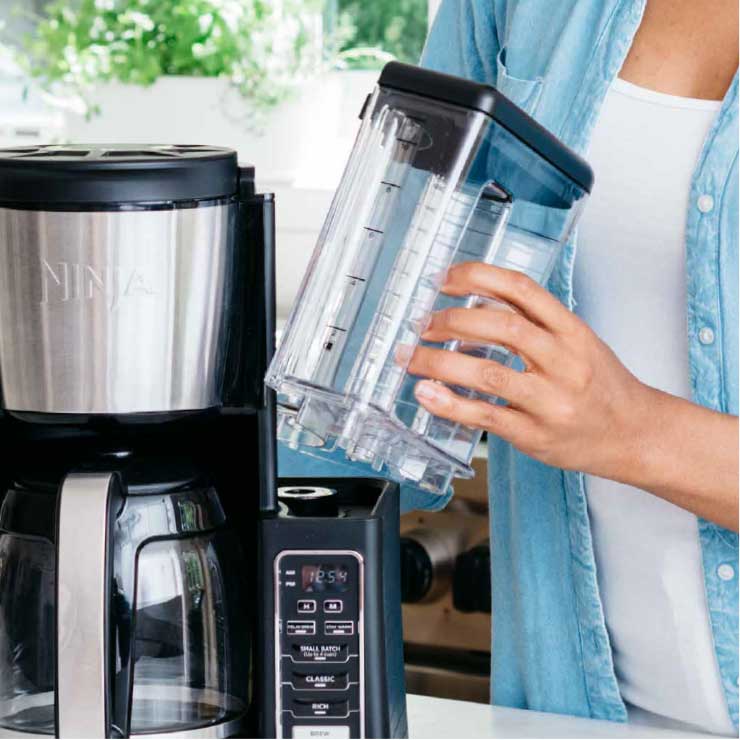
- Run clean water through the machine and sip the mixture into the water tank.
- Press the “CLEAN” button.
- After about a minute of running, turn the machine off and let the mixture sit for 30 more minutes.
- Re-run your machine for another 5-8 minutes more to finish the brew cycle.
- Take the mixture oit and brush all the parts of the machine.
- Pour in water to your water reservoir and rinse to get rid of the vinegar smell and taste.
- Run your machine one more time.
Method #2
You will need:
- Hot water
- Descaling solution
- Soft brush
- Soap
If you’re not all for the nasty smell of vinegar, you can opt to purchase a descaling solution instead. You can easily access some from your local grocery shops. Additionally, it helps dissolve minerals, calcium, and basic lime.
Follow these steps:
- Read and follow the instructions on your purchased descaling solution.
- Pour the solution in your coffee brewer.
- Double check that carafe and ensure that it is set at “FULL” so the descaling solution will flow back after your brew run.
- Run the machine. Depending on your machine, this may last from around 5 to 60 minutes.
- If your machine has the “FLUSH” option, do that for 15 minutes. If not, simply flush and clean your carafe with clean water twice.
- Clean the machine and its parts with warm soapy water and a soft cloth to avoid scratches.
Now if the “CLEAN” button still illuminates after a clean cycle, this is a telltale sign that there’s still calcium buildup in the machine. Repeat the descaling until the light goes out.
Cleaning the Ninja Coffee Bar parts
Deep cleaning the parts is as important as cleaning the main machine. You can throw the frother and the glass carafe into the dishwasher safely, but take note that the warming plate, water reservoir, basket, and the filter can only be cleaned with warm soapy water and a soft cloth.
Make sure to let all the parts dry completely before putting them back together!
Do’s and Don’ts
- Do use high quality coffee beans.
- Do clean your machine regularly. Wash it every after use and deep clean at least once every two months or once the “CLEAN” light comes on.
- Do use quality water to brew.
- Don’t clean your machine using other solutions except for vinegar or a descaling solution.
- Don’t use abrasive cloths or brushes.
Last few tips
- Once the “CLEAN” button is lit, do not press any other buttons.
- Only clean the machine when it’s cooled down.
- Unplug the machine from the power source when rinsing.
Final words
To lengthen the lifespan of your machine and essentially acquire your return of investment, do your part and clean your Ninja coffee brewer regularly. Happy cleaning and happy brewing!
Disclaimer: This post contains affiliate links, which means I may receive a small commission, at no extra cost to you, if you make a purchase using these links. Remember to support us by purchasing through the Amazon/Walmart/Impact Radius links provided. Last update on 2024-04-24 / Affiliate links / Images from Amazon Product Advertising API
Disclosure: No compensation or free products were received in exchange for writing this review.

Editorial Staff
The editorial staff at Crazy Coffee Crave is a team of coffee enthusiasts & Baristas who enjoy the one thing we all think about as soon as we get up in the morning. Trusted by thousands of readers worldwide.