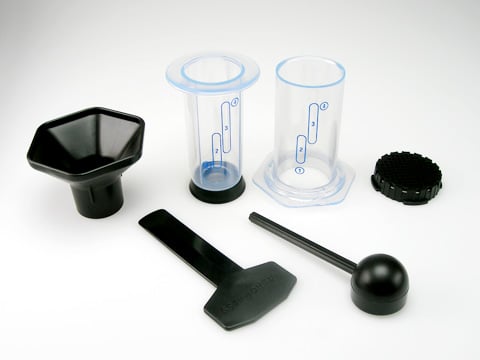
Since its invention, the Aeropress has continued to grow in popularity each year, and today it is one of the common coffee gadgets in the homes of many coffee lovers. Its simplicity, small price tag, and ease of cleaning are some of the things that have seen this coffee maker grow in popularity over the years.
How do AeroPress coffee machines produce cold brew in a matter of minutes while other devices require hours? The secret is to use a fine grind of coffee and stir for a lengthy period. Improving the contact between the surface of the coffee grinds and the water allows for faster flavor extraction from the grounds.

The World Aeropress Championship is yet another thing that has advocated for the use of this small gadget. Held annually to showcase some of the best recipes, this championship has continued to prove Aeropress brewing is a serious thing.
Perfect for cold brew

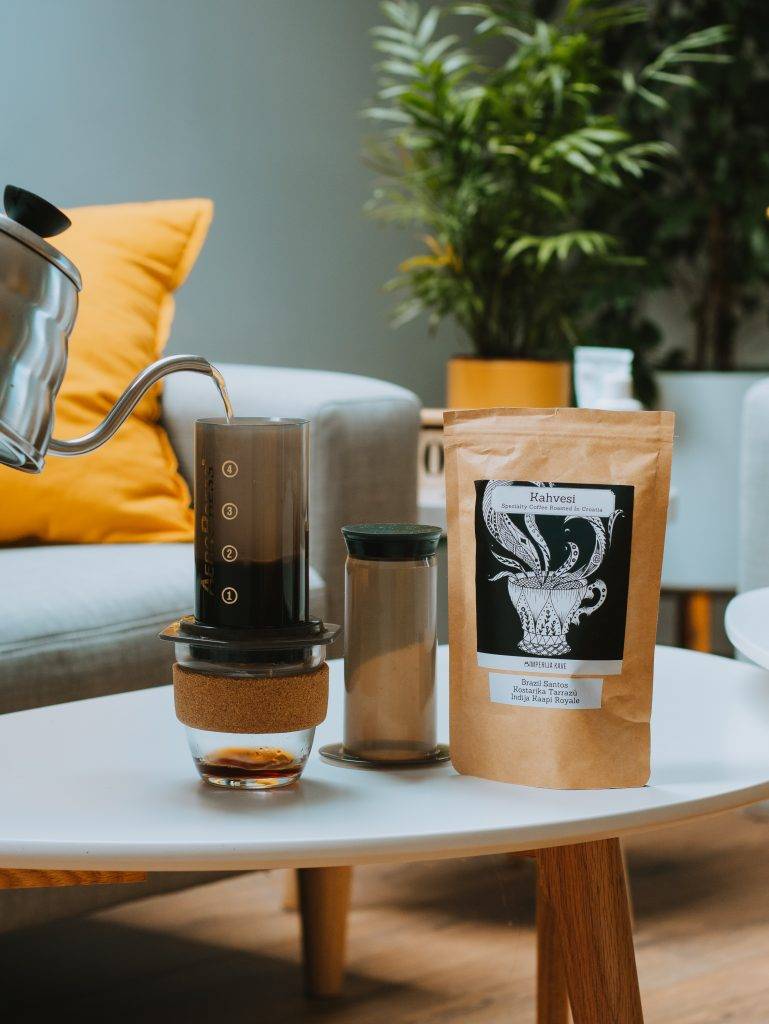
Because of its flexibility and ease of use, the AeroPress has become a coffee classic. It’s difficult to make a terrible cup of coffee with it, and it’s simple to experiment with and create recipes.
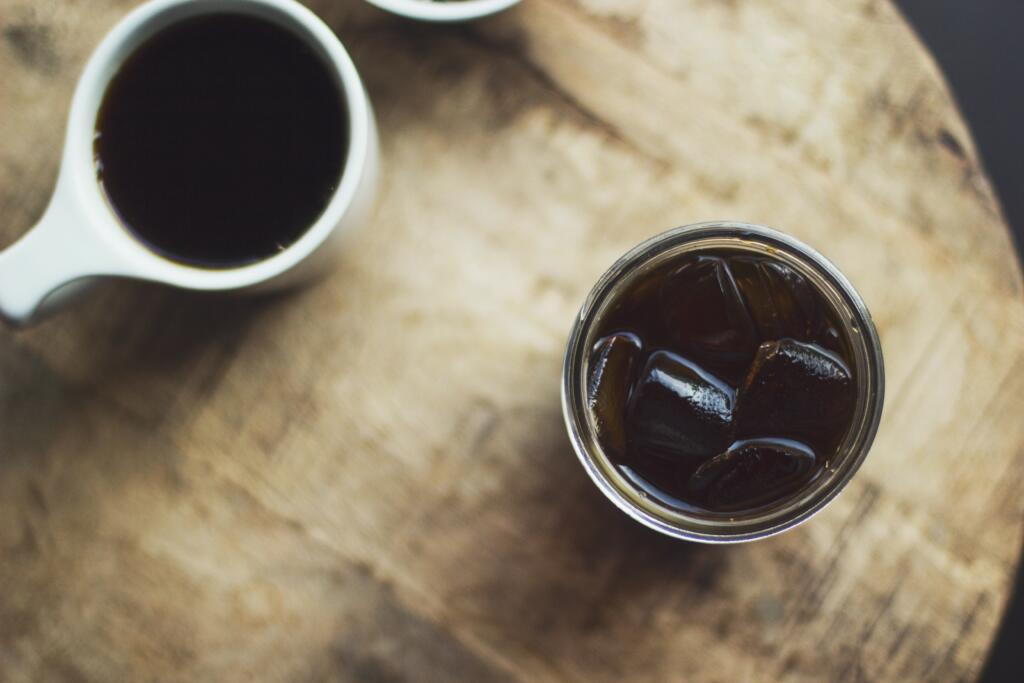
Aeropress is a perfect coffee maker for cold brewing. This machine does an excellent job, and we will tell you how to use it to make a perfect cup of java in an instant. But first, here are a few things you need to know about cold brewing
- Serious planning is needed to enjoy a perfect cup of cold brew coffee.
- Cold brewing is done with room temperature water.
- You need steep coarsely ground coffee for about 12-24 hours, never less than 6 hours.
Preparing your cold brew
Regardless of the brewing apparatus, most cold brew coffee recipes call for steep periods of 12 hours, 24 hours, or even longer. Heat is used in traditional coffee brewing because it speeds up chemical processes, allowing flavor and fragrance molecules from the coffee grinds to be extracted into the drink.
- Weigh 30 grams of whole coffee beans
After selecting your beans, weigh out 30 grams to prepare for grinding. This may appear tedious, but it is a crucial step in achieving the desired degree of potency.
Coffee should always be measured by weight rather than volume. Beans that appear to be the same size will most likely differ in weight (due to density).
- Grind your beans coarsely in a coffee grinder for best Aeropress coffee.
When steeping cold brew for 24 hours, it’s crucial to crush as coarsely as possible.
Grinding the coffee too fine may cause it to over-extract, extracting undesired acidity and bitterness. You might experiment with a finer grind size to get a shorter steep time, such as 4, 8, or even 12 hours, but this is not suggested. If you’re patient, your cold brew will taste better.
- Turn your AeroPress upside down and add coffee.
If you’ve had an AeroPress for a while, you’ve probably tried brewing inverted, which involves inserting the plunger into the top of the brewer and then flipping it over.
It is critical to invert the AeroPress since the coffee and water must steep for 24 hours. So go ahead and flip the AeroPress. Place it on your scale and fill it with ground coffee.
- Pour in room temperature water. Gently stir.
To be precise, add 132 grams of room temperature water. Even though this is a cold brew, it does not need to be cold yet. Using room temperature water and allowing it to steep at room temperature yields excellent results. You don’t need to chill it too steep; doing so will only slow down the process.
After adding the water, gently swirl it with a paddle or spoon to ensure that all the grounds are in touch with the water. Cover the top of the AeroPress with a filter or a cup to protect anything from dropping into the coffee.
- Allow it to sit at room temperature for 24 hours.
The anticipation has begun.
Avoid exposing the coffee to direct sunlight. Put it somewhere where it won’t be affected by light or heat.
Now let’s see how you can make cold brew with Aeropress:
The old school method
This method requires much patience and involves using room temperature water and coarse grind to make your Aeropress cold-brew. You must follow the traditional cold brew preparing time (leave the water in the chamber for about 12-24 hours) to enjoy a refreshing coffee.
Aeropress iced coffee
There are moments coffee anxiety will not let you accomplish anything. If craving cold coffee, the quick fix would be to prepare Aeropress iced coffee the traditional way (using Aeropress) and then pour the concentrated coffee over ice.
The traditional Aeropress method involves using a medium-coarse grind, 16 grams of ground coffee for an 8oz serving, 185F water temperature, 10-second stir, and a 1-minute steep time. While this is not cold brewing, the resulting brew (iced coffee made with Aeropress) will leave your taste buds thankful.
1-minuted cold brew
As the name suggests, this method gets you cold brew coffee in one minute. No hot water is used in the process, and your java is ready in no time. Is that not great?
This method means using finely ground coffee, cold water, a 1-minute stir instead of the usual 10-seconds stir, and then pushing the plunger.
Note: Skipping the 1-minute stir will result in a soft beverage. This is because the ground coffee is fine.
PuckPuck
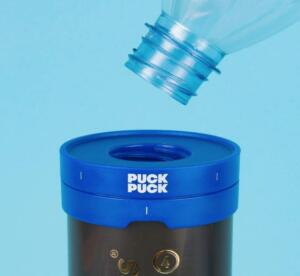
Before we shift to something else, let’s learn a bit about puckpuck, a cold brewing gadget designed by Aeropress. PuckPuck sits neatly on top of your Aeropress, allowing for slow-dripped coffee suitable for cold brewing.
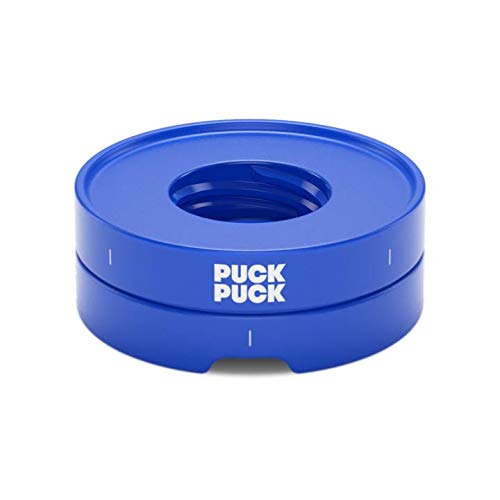
Cleaning up is simple. It’s just rinsing it out with warm soapy water and leaving it to dry, and you’re good to go again.
Can you make the cold brew hot again?
So you have your cold brew and crave a hot cup of coffee. Is it ok to heat it? Well, if you are not concerned about coffee acidity, it is ok to heat your java. Cold brew is said to be 67% less acidic than the usual brewed coffee, and hence good for you if you want coffee that is easier on your stomach.
If you have to heat your cold brew, we recommend topping it with boiling water. If you decide to use a microwave, be cautious as the risk of burning your coffee is very high. Alternatively, warm it in the microwave just a bit (about 10 seconds) and then top it off with hot water.
What about tea?
Aeropress is truly a versatile machine and will let you make tea as you normally would when making coffee. To prepare tea, use the inverted method and let tea leaves and water brew in the chamber for the desired time, and then push down the plunger as usual. When you’re ready, insert a filter into the filter cap, screw the cap onto the chamber, invert it onto your cup, and push.
Wrap up
You will not regret having your Aeropress in the house during hot days. This coffee maker makes sure you have enough cold coffee throughout. For the best experience when brewing Aeropress cold brew, follow the steps outlined in each method.
Need more information about cold brewing with Aeropress? Let us know!
Disclaimer: This post contains affiliate links, which means I may receive a small commission, at no extra cost to you, if you make a purchase using these links. Remember to support us by purchasing through the Amazon/Walmart/Impact Radius links provided. Last update on 2024-04-16 / Affiliate links / Images from Amazon Product Advertising API
Disclosure: No compensation or free products were received in exchange for writing this review.

Editorial Staff
The editorial staff at Crazy Coffee Crave is a team of coffee enthusiasts & Baristas who enjoy the one thing we all think about as soon as we get up in the morning. Trusted by thousands of readers worldwide.